
A keyboard is more than just a tool, it’s an extension of your personal style, workflow, and gaming experience. Replacing your keycaps is one of the easiest and most effective ways to refresh your keyboard’s appearance, improve typing feel, and enhance durability. Many gamers, coders, and mechanical keyboard aficionados swap their caps to achieve better customization, whether through premium PBT double-shot keycaps, RGB-enhancing pudding-style caps, or sleek artisan keycaps.
Popular brands like SteelSeries, KontrolFreek, and Drop offer a variety of keycap sets for different keyboard layouts, including ANSI, ISO, and ortholinear configurations. Whether you own an Apex 9, Apex Pro Mini, or Apex Pro TKL Wireless, upgrading your caps can significantly improve your switch housing protection, prevent dust and debris buildup, and provide a more enjoyable pressing experience.
The Ultimate Guide to Replacing Keycaps on a Keyboard (Step-by-Step + Expert Tips)
What Are Keycaps and Why Replace Them?
What Are Keycaps?
A keycap is the plastic cover that sits atop a mechanical switch, dictating how a keyboard looks, feels, and responds to pressing. Keycaps come in various materials, shapes, and profiles, influencing grip, actuation force, and overall typing experience.
Premium brands like SteelSeries, Glorious PC Gaming Race, and GMK offer high-quality keycap sets for gamers, professionals, and enthusiasts. Black, white, pink, and translucent keycaps are among the most popular choices for those looking to personalize their setup.
Related Articles regarding Keycaps ABS Keycaps
Reasons to Replace Keycaps
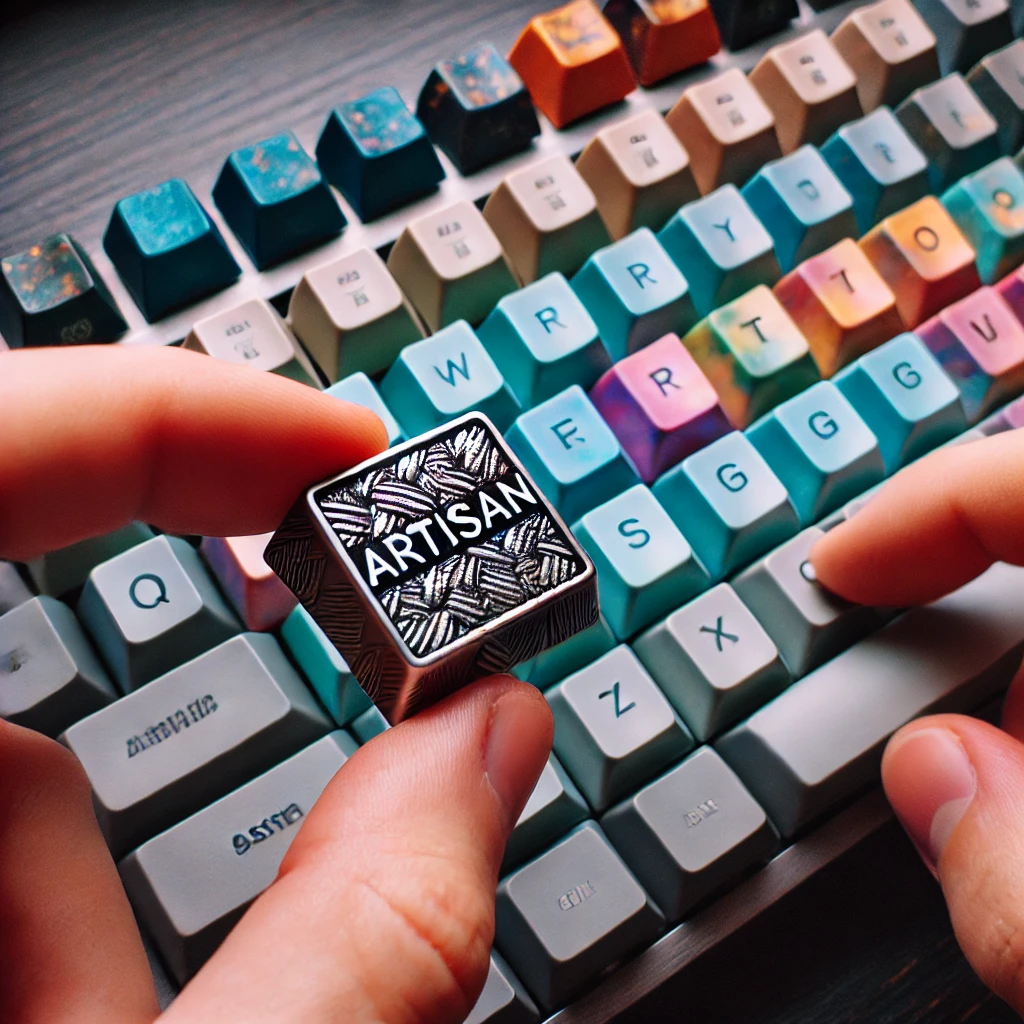
- Customization – Transform your keyboard layout with stylish keycap sets or unique artisan keycaps.
- Material Preference – Choose between PBT double-shot keycaps for durability or ABS keycaps for a smooth, classic feel.
- Durability – Prevent shine, faded legends, and brittle caps that degrade over time.
- Tactile Feel – Different keycaps offer varying textures, grip, and pressing experience to enhance typing comfort.
- Keyboard Compatibility – Ensure your new caps fit your keyboard’s layout (ANSI, ISO, or ortholinear).
Related Articles regarding Keycaps PBT Keycaps
Prepping for Keycap Replacement
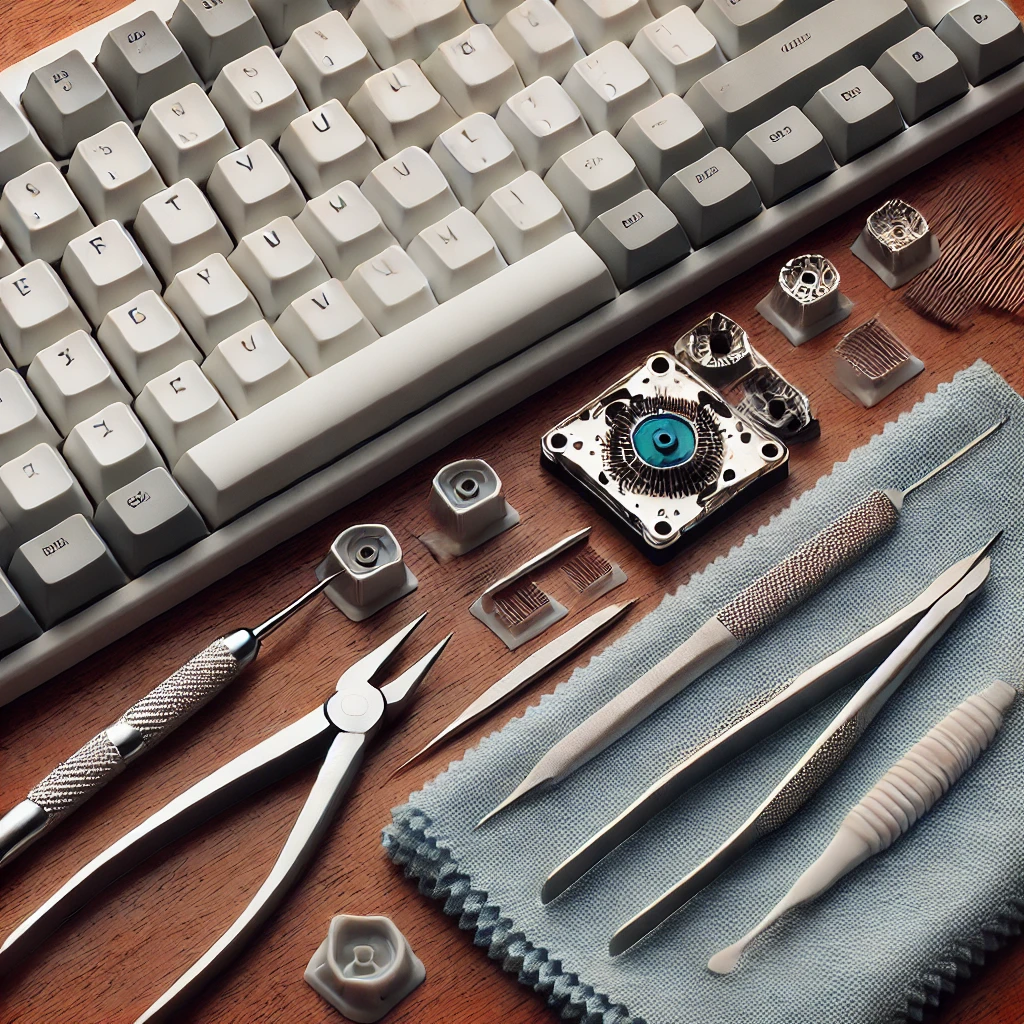
Gather the Right Tools & Accessories
Having the right tools ensures a smooth keycap replacement process and prevents accidental damage to the switch housing or stabilizers.
- Keycap Puller – A wire puller is gentler on switch stems, while plastic pullers provide a firmer grip.
- Cleaning Supplies – Use compressed air, a microfiber cloth, and rubbing alcohol to remove dust, lint, and debris.
- Tweezers & Plastic Pry Tools – Helpful for adjusting stabilizers and handling tight-fitting keycaps.
- Lubricant – Applying Krytox 205g0 can improve pressing smoothness and reduce stabilizer rattle.
Related Articles regarding Keycaps Artisan Keycaps
Step-by-Step Guide: How to Replace Keycaps
Step 1: Prepare Your Workspace
Before starting, ensure your workspace is organized and free from clutter to prevent losing small components.
- Turn off and unplug your keyboard to prevent accidental inputs.
- Work on a flat, stable surface to keep small parts from rolling away.
- Keep a container nearby to store your removed keycaps for easy reference later.
Step 2: Remove the Old Keycaps
To begin removing keycaps, follow these steps carefully:
- Insert a keycap puller around a keycap and pull straight up to detach it from the switch stem.
- For larger keys like Shift, Enter, and Spacebar, be mindful of stabilizers. Use tweezers to detach the bar before pulling off the keycap.
- Store the removed caps in a container to avoid losing them. Keeping your old keycap set can be useful if you ever want to revert to the original look.
Step 3: Clean Your Keyboard for a Fresh Start
Once the keycaps are removed, take the opportunity to deep clean your keyboard:
- Use compressed air or a soft brush to remove dust and debris from the switches.
- Wipe the board down with a microfiber cloth for a clean surface.
- For deeper cleaning, use rubbing alcohol with low-lint swabs to clean the switch housing and surrounding areas.
Step 4: Install the New Keycaps
Now it’s time to install your new keycaps:
- Align each keycap with its switch stem, ensuring correct positioning before pressing it down firmly.
- For larger keys, carefully attach the stabilizer bar before snapping the caps into place.
- Double-check each key for proper alignment to maintain a smooth typing experience.
Step 5: Test the Keyboard
Once all new keycaps are installed, test your keyboard to ensure proper functionality:
- Plug in the keyboard and type on every key to verify smooth pressing.
- If a keycap feels misaligned or wobbly, remove and adjust it.
- Pay extra attention to stabilized keys like Spacebar, Shift, and Enter to ensure they feel firm and responsive.
Choosing the Best Keycaps for Your Needs
Your keycap selection should be based on material, profile, and aesthetic preferences:
- Material Differences – PBT double-shot keycaps last longer, while ABS provides a smoother pressing feel.
- Profile Types – Choose between OEM, Cherry, SA, DSA, or MT3 for different typing angles.
- Color & Design – Brands like GMK, Drop, and SteelSeries offer stylish black, white, pink, and translucent keycaps.
Related Articles regarding Keycaps Dye Sublimated Keycaps
Common Mistakes & Troubleshooting Tips
Many users encounter challenges when replacing keycaps. Here’s how to avoid them:
- Tight-Fitting Keycaps – Use a flathead screwdriver to gently nudge them off without damage.
- Wobbly or Loose Keycaps – Check for faulty stems or misaligned stabilizers.
- Stabilizer Rattle – Apply lubricant to reduce noise and improve pressing consistency.
- Incompatible Keycaps – Some brands like Razer and Corsair have non-standard layouts, requiring special keycap sets.
Related Articles regarding Keycaps POM Keycap
Frequently Asked Questions
Are keycaps universal?
Not always. Some keyboards, like those from Razer, require proprietary keycap sets due to unique switch designs.
Do keycaps affect typing speed?
Yes! Different profiles, textures, and materials impact the grip and feel of each press, affecting typing speed.
How often should I clean my keyboard?
Regular cleaning with a microfiber cloth and canned air prevents dust buildup and extends keyboard durability.
How do I prevent keycap damage?
Use a keycap puller, avoid excessive force, and clean your keyboard regularly.
Related Articles regarding Keycaps CRP Keycaps
Conclusion: Personalizing Your Keyboard Experience
Replacing keycaps is an easy yet impactful way to improve your keyboard’s appearance, feel, and performance. Whether you prefer RGB-enhancing pudding-style caps or durable PBT double-shot keycaps, there’s a keycap set to fit every preference.
Try different materials, profiles, and colors to customize your setup. Have you replaced your keycaps recently? Share your experience in the comments below!