
If you’ve ever felt your keyboard becoming scratchy or clacky, then lubricating your switches can make a significant difference. A well-lubricated mechanical keyboard provides a smoothest and more delightful typing experience, reducing pinging sounds and extending the lifespan of your switches.
Not all switches require lubrication, but mechanical switches—especially linear and tactile ones—greatly benefit from this modification. If you’re a gamers, programmers, or someone who enjoys top-tier keyboard customizability, learning to lubricate your switches properly will change your typing experience.
How to Lubricate Keyboard Switches: A Step-by-Step Guide
Understanding Keyboard Switches
Types of Mechanical Switches
There are three main types of mechanical switches, each with a different feel and sound:
- Linear: These switches provide a silky keypress with no tactile bump or clack. Perfect for those who prefer the smoothest keystrokes.
- Tactile: These have a noticeable bump that provides feedback without making too much noise.
- Clicky: These switches produce a loud click, making them the most noisy option.
How Lubrication Affects Each Switch Type
Lubricating linear switches enhances their smoothness and reduces internal scratchiness. Tactile switches require a light coat of medium-viscosity lubricant, such as Tribosys 3203, to maintain their tactile bump. Clicky switches, however, should not be lubricated, as doing so dampens their crisp clack.
Choosing the Right Lubricant
Types of Lubricants for Keyboard Switches
The selection of lubricant depends on your switch type and typing preference:
- Krytox 205g0: A thicker lube, best for linear switches, providing a silky smooth feel.
- Tribosys 3204: A medium-viscosity lubricant, ideal for tactile switches as it preserves the tactile bump.
- Super Lube PTFE: A budget-friendly alternative, though it may not provide the same premium feel.
Lubrication Do’s & Don’ts
- ✅ Use thin layers of lubricant to prevent excess buildup.
- ❌ Avoid oil-based or conductive lubricants, as they can damage your hardware.
- ❌ Don’t overapply—too much lube can make switches feel mushy instead of smooth.
Tools Needed for Lubrication
To ensure a proper lubrication process, you’ll need the following tools:
- Keycap puller – For safely removing the keycaps without causing damage.
- Switch puller – Essential for pulling out switches, especially on hot-swappable keyboards.
- Tweezers – Helps in handling springs without losing them.
- Switch opener – A dedicated tool for opening switches without scratching or chipping them.
- Small paintbrush (size 0 or 00) – For precise application of lube.
- Lube station – Keeps switch parts organized during the lubrication process.
Step-by-Step Guide to Lubricating Switches
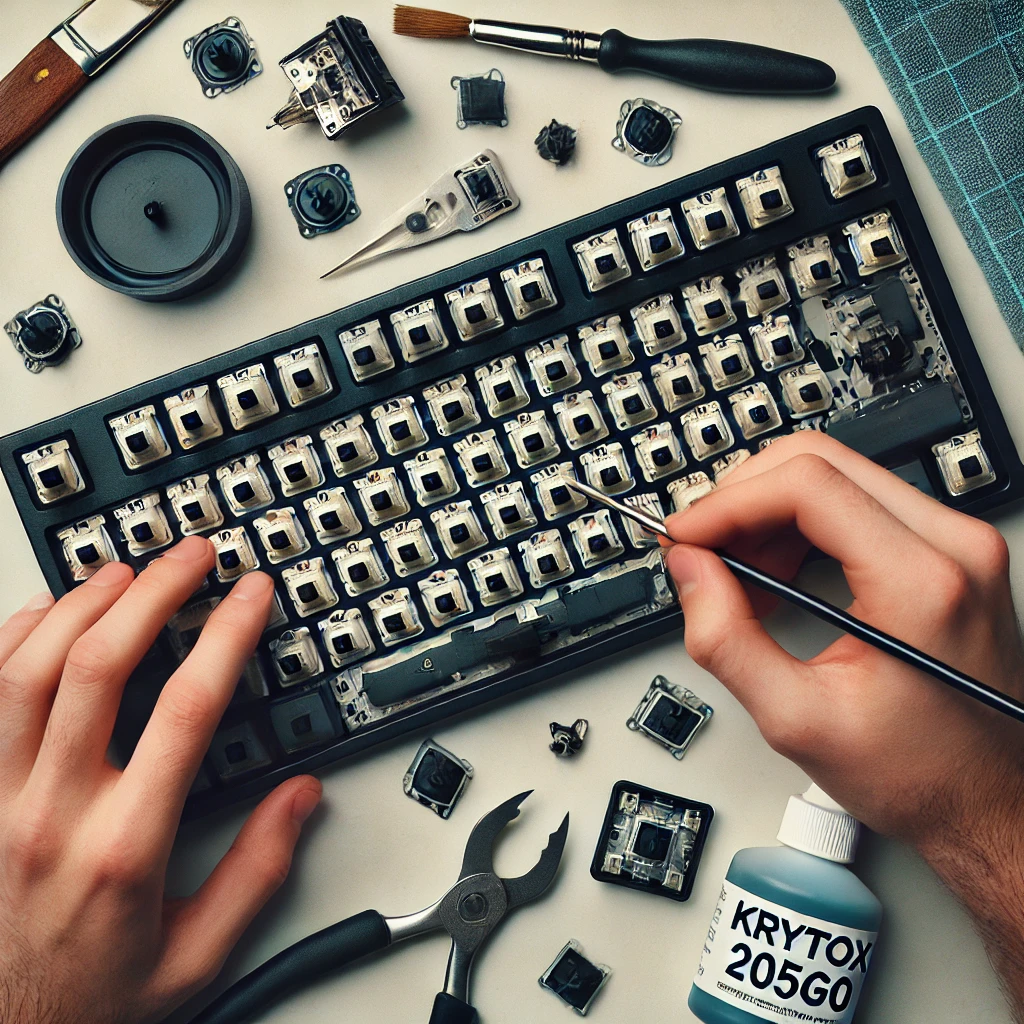
Step 1: Remove Keycaps and Switches
Use a keycap puller to lift the caps slowly and firmly. For hot-swappable keyboards, use a switch puller to pluck the switches from their slot. If your board is soldered, you’ll need to desolder the switches carefully to avoid damage.
Step 2: Disassemble the Switches
With a switch opener or flathead screwdriver, carefully unhinge the top housing and separate the stem, spring, and bottom housing. Make sure to keep these parts in order to make the reassembly process easier.
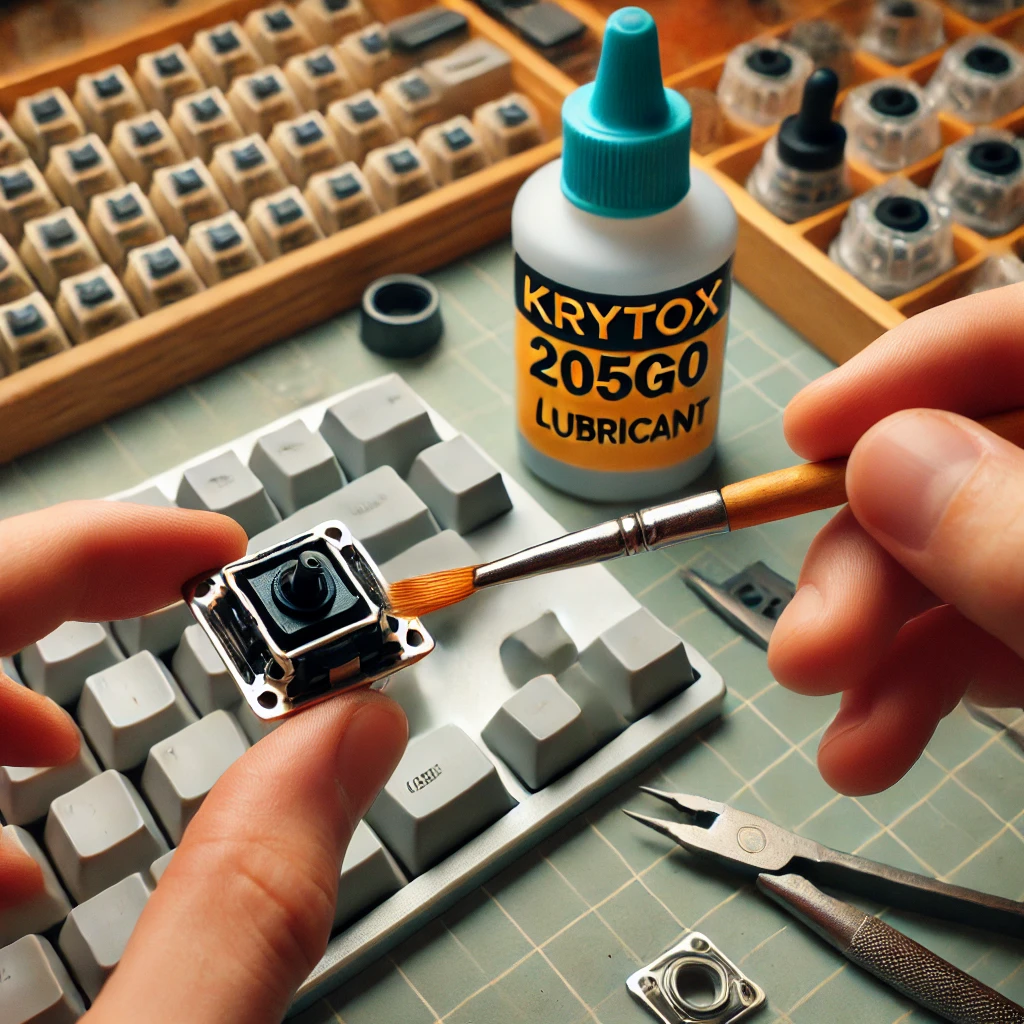
Step 3: Apply Lubricant Properly
- Lubricating the Stem: Use a brush to apply a thin layer of lubricant on the rails, ensuring an evenly spread coat.
- Lubricating the Springs: Place the springs in a small bag, add a few drops of lube, and shake to coat them properly.
- Lubricating the Housing: Apply lube where the stem makes contact with the housing, but avoid tactile legs.
Step 4: Reassemble the Switches and Keyboard
After lubrication, start reassembling the switches by aligning the stem inside the center column, placing the spring in position, and securing the top housing back in place. Slide the switches into the board, ensuring proper alignment. Once all switches are set, push the keycaps back on and test each key for responsiveness.
Common Mistakes and Troubleshooting
Overlubing
Applying too much lube can make keys feel mushy, reducing typing precision. Always use small amounts and spread evenly.
Lubing Clicky Switches
Never lubricate clicky switches, as it will change their sound and dampen the click mechanism.
Uneven Application
An inconsistent application of lubricant can result in switches feeling different from one another. Ensure the lube is evenly coated across all parts.
Final Thoughts
Taking the time to lubricate your keyboard switches is a transformative process that can turn an ordinary typing experience into a premium one. By using the right tools, techniques, and lubricants, you can create a top-tier keyboard that feels silky smooth and responsive.
To maintain your keyboard, regularly clean it with compressed air to remove dust, crumbs, and debris. For gamers, programmers, or typing enthusiasts, proper lubrication ensures a better and more satisfying experience. Whether you’re after a silent, thocky, or clacky keyboard, customizing your switches will give you a truly personalized feel.
People Also Asked
How often should I lubricate my keyboard switches?
You should lubricate your keyboard switches every 6-12 months, depending on how regularly you use them. If you notice scratchiness, increased clack, or reduced smoothness, it’s time for a re-lubrication.
Can I lubricate clicky switches?
No, lubricating clicky switches is not recommended. The lubricant can interfere with the click mechanism, making them feel mushy and reducing the crisp clack sound they are known for.
What is the best lubricant for mechanical switches?
For linear switches, Krytox 205g0 is the best choice, providing a silky smooth feel. For tactile switches, Tribosys 3204 is ideal as it maintains the tactile bump while reducing scratchiness.
Can I use WD-40 or other household oils to lubricate my switches?
No, using oil-based or conductive lubricants like WD-40 can damage your switches and affect the keyboard’s hardware. Always use proper keyboard lubricants, such as Krytox or Tribosys, for the best typing experience.
Do I need to desolder switches to lubricate them?
If your keyboard is hot-swappable, you don’t need to desolder the switches—you can simply pull them out using a switch puller. However, for soldered boards, you will need to desolder them carefully to avoid damaging the PCB.
Related Articles:
How to replace Keycaps on a Keyboard